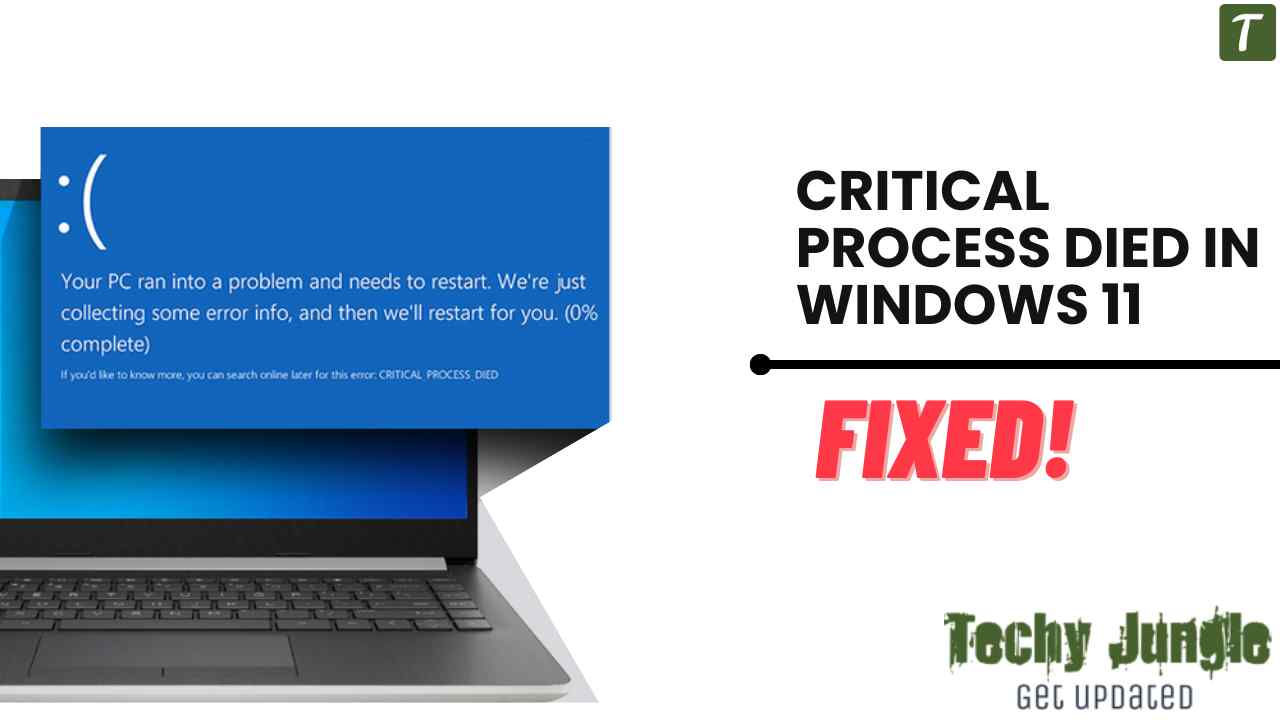
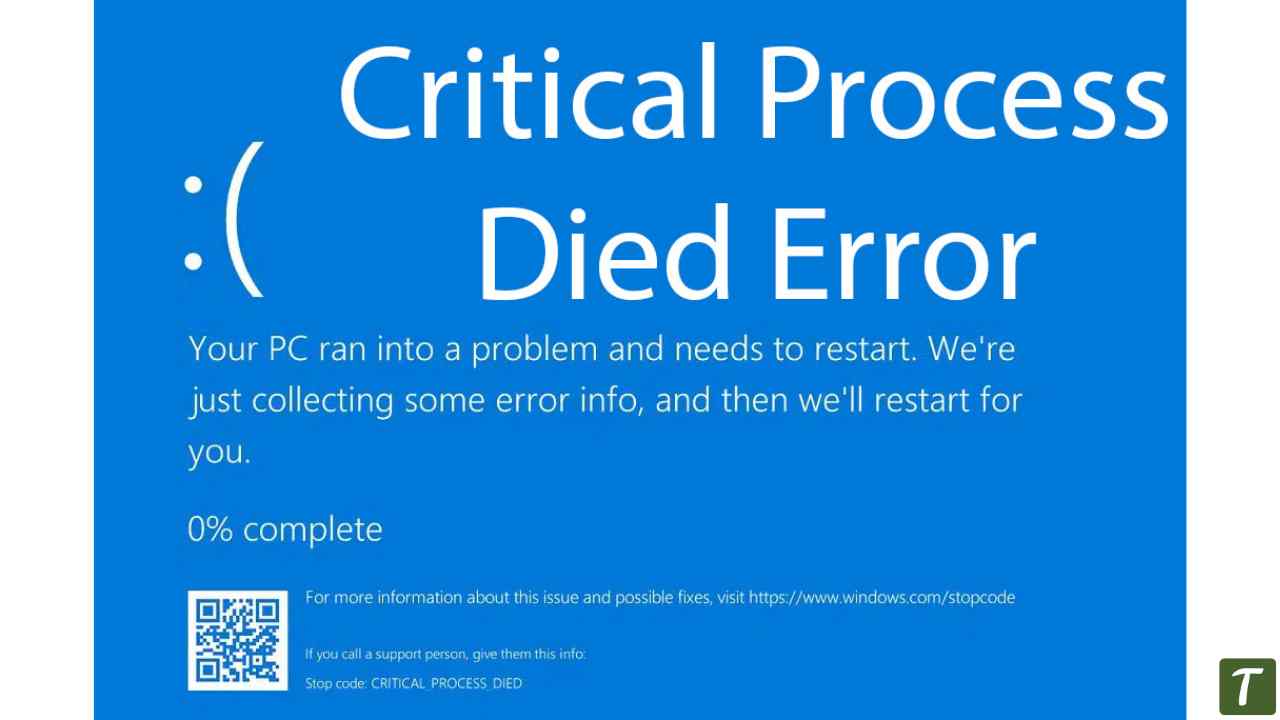
Fix Critical Process Died Windows 11 – If you are a Windows 11 user, you may have encountered the dreaded “CRITICAL_PROCESS_DIED” error. This is a common issue that can be caused by various factors such as outdated drivers, faulty hardware, malware, or corrupt system files. The error can prevent your computer from booting properly and may cause data loss if not addressed promptly.
In this blog post, we will discuss what the “CRITICAL_PROCESS_DIED” error is, what causes it, and provide you with some effective methods to fix it. Whether you’re a novice or an experienced user, this guide will help you troubleshoot and resolve the issue so you can get back to using your Windows 11 computer without any interruptions.
Certainly, here are ten methods you can try to fix the “CRITICAL_PROCESS_DIED” error in Windows 11, along with their steps:
Table of Contents
Method 1: Restart Your Computer
- Press and hold the power button on your computer to turn it off.
- Wait a few seconds and then press the power button to turn it back on.
- Check if the “CRITICAL_PROCESS_DIED” error still persists.
Method 2: Boot into Safe Mode
- Press the Windows key + I to open the Settings app.
- Click on “Update & Security” and then on “Recovery”.
- Under “Advanced startup”, click on “Restart now”.
- Select “Troubleshoot” > “Advanced options” > “Startup Settings” > “Restart”.
- Press F4 to boot into Safe Mode.
- Check if the error still persists in Safe Mode.
Method 3: Run a Full System Scan with Antivirus
- Press the Windows key + I to open the Settings app.
- Click on “Update & Security” and then on “Windows Security”.
- Click on “Virus & threat protection” and then on “Scan options”.
- Select “Full scan” and then click on “Scan now”.
- Wait for the scan to complete and take appropriate action if any malware is detected.
Method 4: Install Windows Updates
- Press the Windows key + I to open the Settings app.
- Click on “Update & Security” and then on “Windows Update”.
- Click on “Check for updates” and wait for Windows to check for updates.
- If any updates are available, click on “Install now” and follow the prompts to install them.
- Restart your computer and check if the error still persists.

Method 5: Update Device Drivers
- Press the Windows key + X and then click on “Device Manager”.
- Expand the device category that you suspect may be causing the error.
- Right-click on the device and then click on “Update driver”.
- Follow the prompts to download and install the latest driver.
- Repeat the process for other devices and restart your computer.
Method 6: Run SFC and DISM Tools
- Press the Windows key + X and then click on “Windows PowerShell (Admin)”.
- Type “sfc /scannow” and press Enter to run the System File Checker.
- Wait for the scan to complete and take appropriate action if any corrupted files are detected.
- Type “DISM /Online /Cleanup-Image /RestoreHealth” and press Enter to run the Deployment Image Servicing and Management tool.
- Wait for the process to complete and restart your computer.
Method 7: Run System Restore
- Press the Windows key + X and then click on “System”.
- Click on “System protection” and then on “System Restore”.
- Follow the prompts to select a restore point before the error occurred.
- Wait for the process to complete and check if the error still persists.
Method 8: Disable Overclocking
- Press the Windows key + X and then click on “Task Manager”.
- Click on “More details” and then on the “Performance” tab.
- If your processor is overclocked, click on “CPU” and then on “Speed”.
- Click on “Disable” to turn off overclocking and check if the error still persists.
Method 9: Check for Faulty Hardware
- Shut down your computer and disconnect all external devices except for the keyboard, mouse, and monitor.
- Turn on your computer and check if the error still occurs.
- If the error does not occur, connect one device at a time and check if the error reoccurs.
- If the error occurs after connecting a particular device, the device may be faulty and needs to be replaced.
Method 10: Reset Windows 11
- Press the Windows key + I to open the Settings app.
- Click on “System” and then on “Recovery”.
- Under “Reset this PC”, click on “Get started”.
- Choose whether to keep or remove your personal files and follow the prompts to reset Windows 11.
These are some common methods you can try to fix the “CRITICAL_PROCESS_DIED” error in Windows 11. If none of the above methods work, you may need to perform a clean install of Windows 11 or reset your device to its factory settings. It’s always a good idea to back up your important data before attempting any major system changes to avoid potential data loss.
If none of the above methods work, it’s best to seek the assistance of a qualified computer technician to diagnose and fix the issue.
Also Read: How to Enable God Mode in Windows 11
Wrapping Up
In conclusion, the “CRITICAL_PROCESS_DIED” error can be a frustrating issue to deal with, but it’s not something that can’t be fixed. By using the methods outlined in this guide, you should be able to resolve the issue and prevent it from recurring in the future.
Remember to always keep your drivers up to date, scan for malware regularly, and make backups of your important files to prevent data loss. If you’re still unable to fix the problem on your own, don’t hesitate to seek the help of a qualified technician.
By taking these steps, you can ensure that your Windows 11 computer remains healthy and stable for all your computing needs.
Frequently Asked Questions
What is the “Critical Process Died” error in Windows 11?
The “Critical Process Died” error in Windows 11 is a Blue Screen of Death (BSOD) error that can occur when a critical system process fails to run or crashes unexpectedly. This can cause your computer to shut down or restart unexpectedly and may result in data loss.
What causes the “Critical Process Died” error in Windows 11?
There are several possible causes of the “Critical Process Died” error in Windows 11, including outdated or corrupt drivers, malware or virus infections, faulty hardware, corrupt system files, and overclocking.
How can I fix the “Critical Process Died” error in Windows 11?
How can I fix the “Critical Process Died” error in Windows 11? To fix the “Critical Process Died” error in Windows 11, you can try various methods such as running system file checker (SFC) or dism command, updating drivers, performing a clean boot, disabling overclocking, and resetting Windows 11. If none of these methods work, it’s best to seek the assistance of a qualified computer technician.
Will resetting my Windows 11 PC fix the “Critical Process Died” error?
Resetting your Windows 11 PC can fix the “Critical Process Died” error if the problem is caused by corrupted system files or malware infections. However, if the problem is due to hardware issues or outdated drivers, resetting your PC may not be effective.
Is the “Critical Process Died” error in Windows 11 related to hardware issues?
Yes, the “Critical Process Died” error in Windows 11 can be related to faulty hardware such as a failing hard drive, bad RAM, or a malfunctioning processor. It’s important to check your hardware components for issues if the error persists after trying other software-based solutions.
Also Read: Steps to Hide Taskbar in Windows 11